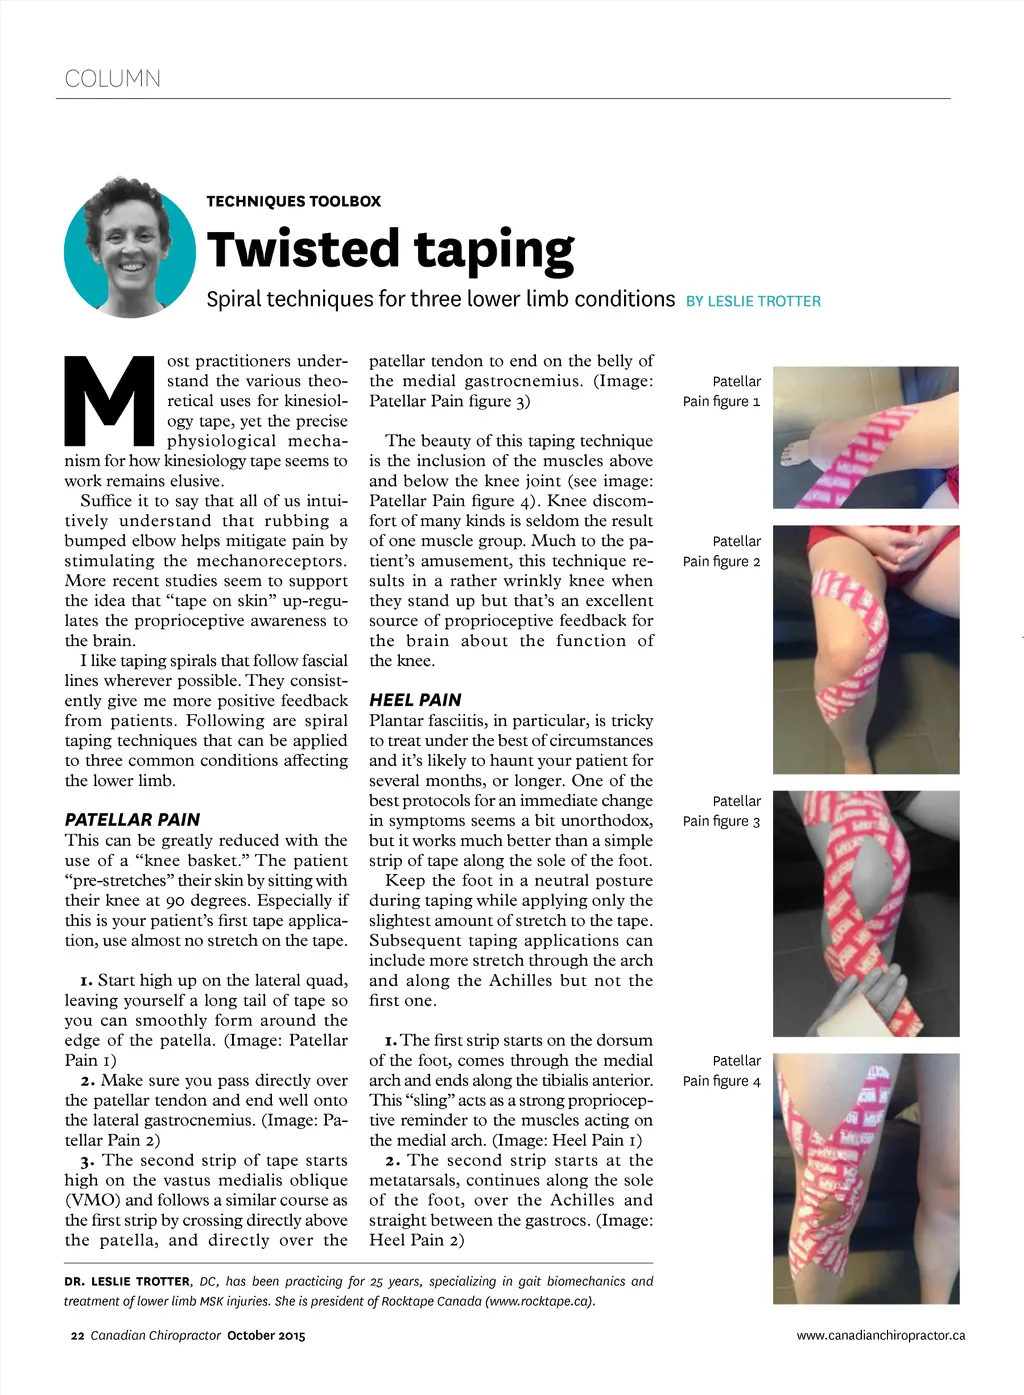
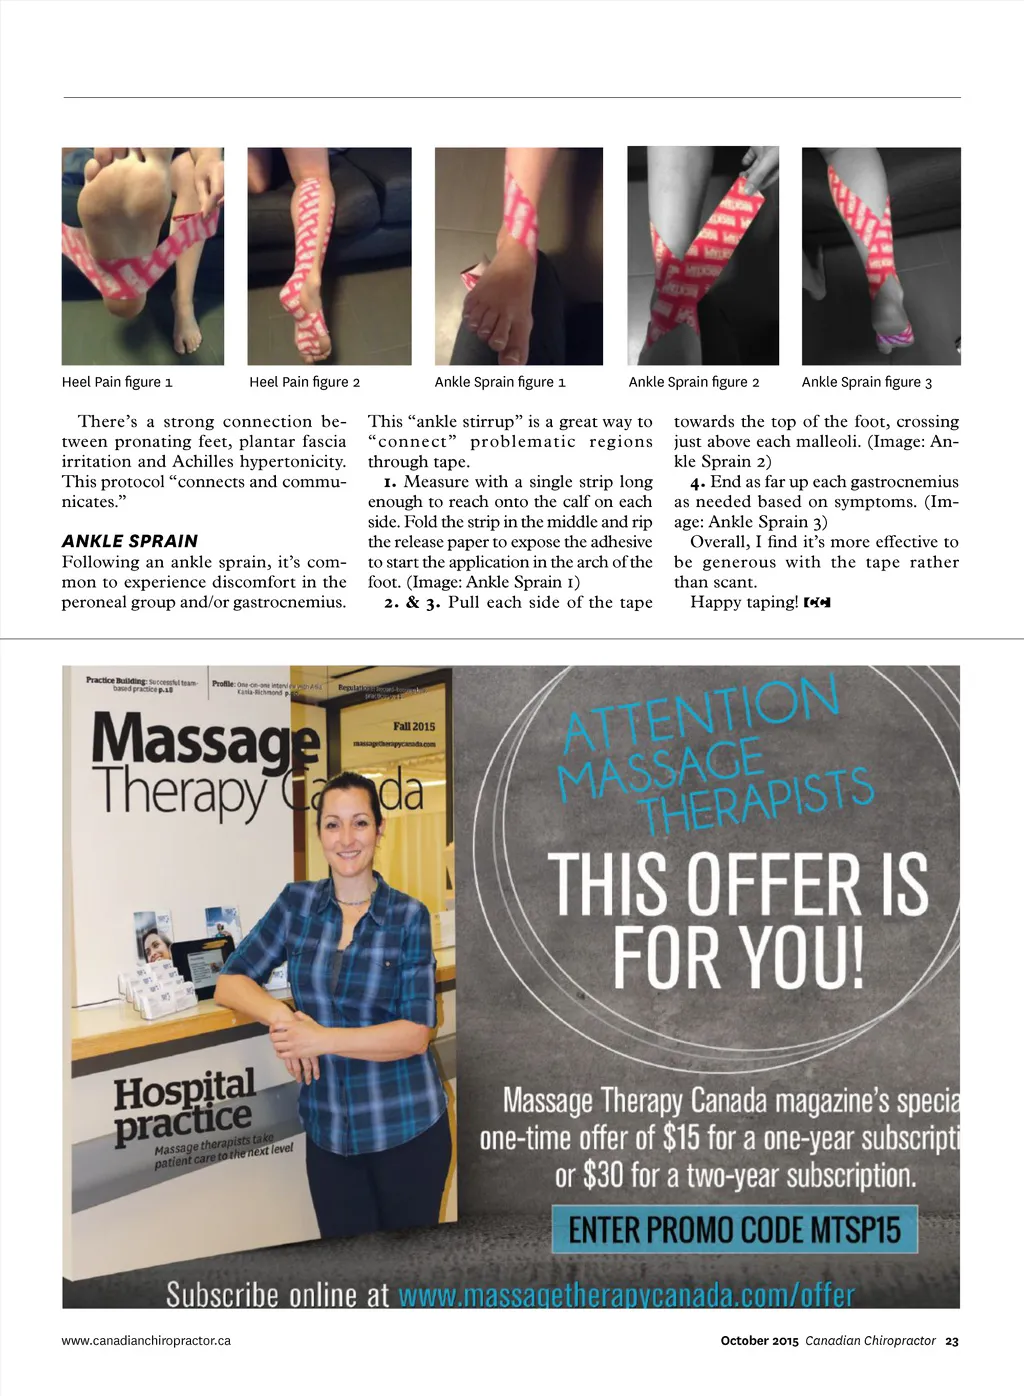
COLUMN TECHNIQUES TOOLBOX Twisted taping M Spiral techniques for three lower limb conditions patellar tendon to end on the belly of the medial gastrocnemius. (Image: Patellar Pain figure 3) The beauty of this taping technique is the inclusion of the muscles above and below the knee joint (see image: Patellar Pain figure 4). Knee discom-fort of many kinds is seldom the result of one muscle group. Much to the pa-tient’s amusement, this technique re-sults in a rather wrinkly knee when they stand up but that’s an excellent source of proprioceptive feedback for the brain about the function of the knee. BY LESLIE TROTTER ost practitioners under-stand the various theo-retical uses for kinesiol-ogy tape, yet the precise physiological mecha-nism for how kinesiology tape seems to work remains elusive. Suffice it to say that all of us intui-tively understand that rubbing a bumped elbow helps mitigate pain by stimulating the mechanoreceptors. More recent studies seem to support the idea that “tape on skin” up-regu-lates the proprioceptive awareness to the brain. I like taping spirals that follow fascial lines wherever possible. They consist-ently give me more positive feedback from patients. Following are spiral taping techniques that can be applied to three common conditions affecting the lower limb. Patellar Pain figure 1 Patellar Pain figure 2 HEEL PAIN PATELLAR PAIN This can be greatly reduced with the use of a “knee basket.” The patient “pre-stretches” their skin by sitting with their knee at 90 degrees. Especially if this is your patient’s first tape applica-tion, use almost no stretch on the tape. 1. Start high up on the lateral quad, leaving yourself a long tail of tape so you can smoothly form around the edge of the patella. (Image: Patellar Pain 1) 2. Make sure you pass directly over the patellar tendon and end well onto the lateral gastrocnemius. (Image: Pa-tellar Pain 2) 3. The second strip of tape starts high on the vastus medialis oblique (VMO) and follows a similar course as the first strip by crossing directly above the patella, and directly over the Plantar fasciitis, in particular, is tricky to treat under the best of circumstances and it’s likely to haunt your patient for several months, or longer. One of the best protocols for an immediate change in symptoms seems a bit unorthodox, but it works much better than a simple strip of tape along the sole of the foot. Keep the foot in a neutral posture during taping while applying only the slightest amount of stretch to the tape. Subsequent taping applications can include more stretch through the arch and along the Achilles but not the first one. 1. The first strip starts on the dorsum of the foot, comes through the medial arch and ends along the tibialis anterior. This “sling” acts as a strong propriocep-tive reminder to the muscles acting on the medial arch. (Image: Heel Pain 1) 2. The second strip starts at the metatarsals, continues along the sole of the foot, over the Achilles and straight between the gastrocs. (Image: Heel Pain 2) Patellar Pain figure 3 Patellar Pain figure 4 DR. LESLIE TROTTER , DC, has been practicing for 25 years, specializing in gait biomechanics and treatment of lower limb MSK injuries. She is president of Rocktape Canada (www.rocktape.ca). 22 Canadian Chiropractor October 2015 www.canadianchiropractor.ca
Chiropractic + Naturopathic Doctor October 2015: Page 22